10 Tips on How to Photograph Cars with Your Smartphone

10 Tips on How to Photograph Cars with Your Smartphone

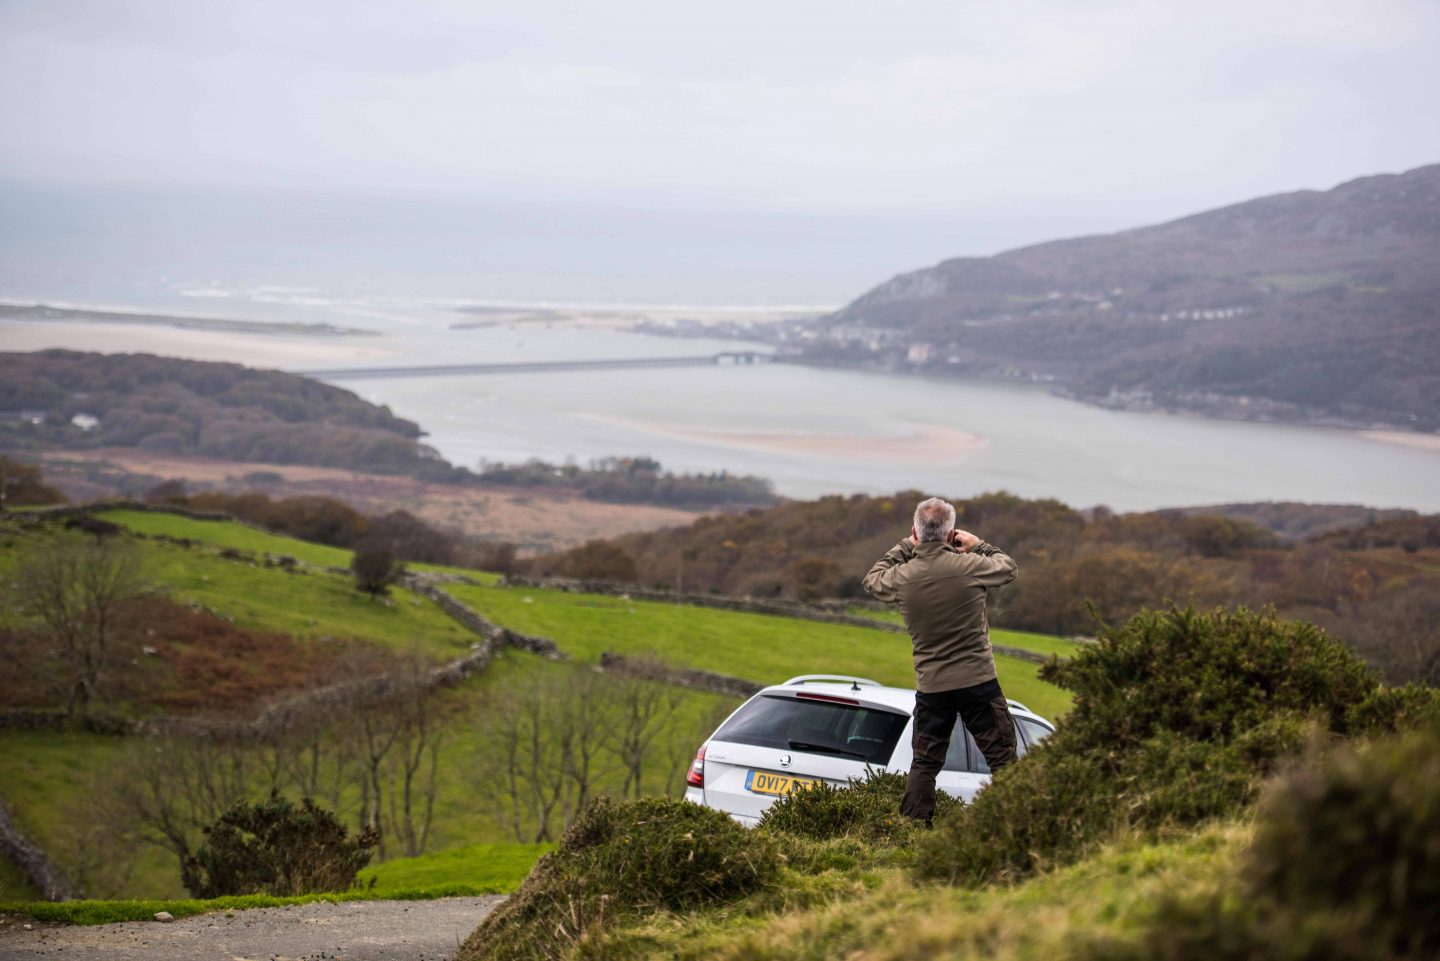
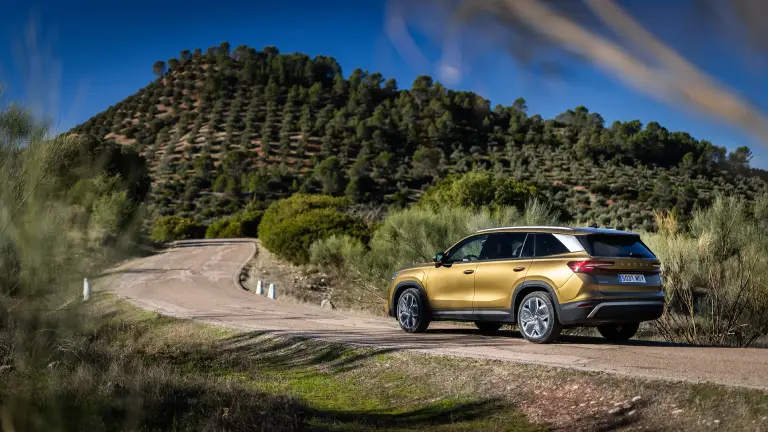
Just clean your car and find the best spot. Easy, right? But that’s only the beginning. Professional photographer Julian Calverley took the new ŠKODA OCTAVIA SCOUT into the stunning nature of Wales just for one reason – to share 10 tips with you on how you can boost your cell phone pictures to a completely new level.

30. 11. 2017 Lifestyle People

1. HAVE A PRO MINDSET

It doesn’t matter whether you’re holding a phone or a camera. Want to take pictures like a pro? Then you need to think and act like one. Be well equipped and ready to step outside your comfort zone. You might need to cross rivers, face bad weather, or spend days far from civilization. I always take good footwear, waterproof bags for equipment, an extended battery pack to upgrade battery life, and an umbrella which allows me to shoot when it’s raining. And I don’t accept average locations.

Have a pro mindset

2. START EARLY AND FOLLOW THE SUN

There are some great apps like Sun Seeker or Lumos which show you exactly when and where the sun rises and sets. Shooting cars at dusk and dawn provides beautiful soft light which accentuates the shapes of a car and provides gorgeous reflections. But the window of opportunity is small, and you need to be prepared. You’ll also need some time to clean the whole car before you start. Dirty cars rarely look beautiful, so make sure you have enough clean water and several wipers. If the vehicle has visible scratches, I’d advise focusing on the other side.

Start early and follow the sun

3. KEEP IT SIMPLE

Use the simplicity of your phone to your advantage. No gear choices, just simple settings, and only the basic apps. Focus your mind on the pictures and take your time. Experience the location and its atmosphere; look around instead of playing with your gear. This is why I enjoy shooting with a phone so much. It’s a simple and uncluttered process involving a single piece of equipment and one simple app (Snapseed in my case) for postproduction. It keeps me focused on what I’m trying to achieve and doesn’t distract me with too many possibilities.

Skoda_Wales_D1-326

4. SEE THE BIGGER PICTURE

I’ll let you in on a secret: The best images are those which also work great as thumbnails or miniatures. Especially in social media, it should catch the eye even when it’s very small. So don’t get lost in the details and break the whole scene down to simple forms. Try to squint at the picture – this works very well for me. I always look for dramatic locations with strong leading lines that lead the eye through an image and increase its impact.

See the bigger picture

5. PERFECT WEATHER ISN’T ALWAYS PERFECT

Clear blue skies are beautiful, but this may also make for quite a boring picture. Don’t be in a hurry, instead visiting one location multiple times. It can feel like a completely different experience under different lighting, weather conditions, or time of year. Clouds, rain, snow, or hail add drama to a scene. Rain, mist, and fog can make a busy scene suddenly feel calm, adding depth, simplicity, and atmosphere. Shooting in rain and mist can bring the car out of a busy scene, diverting the focus onto the vehicle itself. And raindrops on the bonnet look quite beautiful too!

Perfect weather isn't always perfect

Julian_Calverley
JULIAN CALVERLEY
landscape and advertising photographer

ABOUT JULIAN CALVERLEY

Julian Calverley (born in Hertfordshire in 1964) is a successful landscape and advertising photographer. While he often works with the most expensive professional equipment, he also fell in love with the simplicity of smartphone photography. He is the author of the book #IPHONEONLY and thanks to his pictures he was also chosen by Instagram as a promoted photographer. Julian has a passion for capturing dramatic landscape images and people and also enjoys off-roading. Follow him on Instagram!

6. FIND THE BEST ANGLE

First of all – don’t zoom. Instead of standing in one spot and zooming, move around the car and try different angles with your primary lens. Just a subtle shift can completely change the visual weight and impact of a vehicle’s lines. And explore the distance between the camera and the car. Placing a car in a large dramatic landscape, for example, can add a sense of scale. The rule of thirds is a well-known technique, but it’s one that can improve your images drastically. The human eye is drawn to imagery that is divided into thirds, so this should be reflected in the main elements of a picture.

Skoda_Wales_D2-263

7. CARS HAVE EYES TOO

When you take a picture of a person, the best angle is usually at the height of his eyes. When it comes to cars, the headlights are their eyes. The front wheels should be aimed straight or turned away from the camera to show the discs and add sportiness. It’s better not to show the rubber. Avoid using the main lights; subtle front sidelights (parking lights) or LED daylights look much better. On the other hand, the view from the back is always better with the lights on. Leading lines like roads or bridges add a sense of speed or movement.

Cars have eyes too

8. GOOSE BUMP MOMENT

I tend to shoot things or places that excite me. This is usually finding a dramatic place that’s experiencing dramatic weather. The tide, weather, and light all come together as one. I call this the goose bump moment. It’s like fishing – you plan and hope for something. Some days you catch something, some days you don’t. As a landscape photographer, I always explore the background first and then place the car within the scene. I basically start from the back of a composition and then work forward, making sure that the background, midground, car, and foreground all work together in compositional harmony.

Goose bump moment

9. KEEP THE POSTPRODUCTION SIMPLE TOO

One of the joys of shooting and processing on a mobile device is the simplicity and spontaneity of the entire process. With that in mind, I like to keep things simple and use only two apps on my phone. I use the phone’s own camera app, which I use to control the exposure, thus avoiding burning out highlights whenever possible. I then use Snapseed for all my postproduction work. The entire process can be simple: shoot using the basic camera app > save the picture > import to Snapseed (or other program like Lightroom) > export finished file > share it on Instagram or Facebook and save a copy to a cloud service like Dropbox or Google Drive for archiving.

Keep the postproduction simple too

10. FIND YOUR POSTPRODUCTION ROUTINE

When in Snapseed, I usually follow these steps after importing the image: adjust structure and sharpness to taste > add vignette to focus the attention on your subject matter and help move the eye through the image > add a subtle film grain layer, which also adds a colour grade (warm or cool etc.) > add a softening layer to reduce the digital feel of the image > create a number of “dodge and burn” layers to fine tune various areas of the image. This emulates what we used to do when printing in the traditional wet dark room. The final image adjustments usually include ambiance and saturation.

beforeafter

Media Box

29 images
Show more Show less